Discovering the art of rendering beef tallow for homemade lotions is like unlocking a centuries-old beauty secret. Our ancestors knew something we’re only now rediscovering: tallow-based skincare products are incredibly nourishing and effective. As someone who’s spent years perfecting this process, I can tell you that learning how to render beef tallow properly will revolutionize your natural skincare routine. This comprehensive guide will walk you through every step of the process, from selecting the right fat to creating your own luxurious tallow-based lotions.
Essential Equipment for Tallow Rendering
Before diving into the rendering process, gathering the right equipment is crucial. I learned this the hard way when I first started and tried to use inappropriate containers that couldn’t withstand the heat.
Basic Equipment Needs
- Large stainless steel pot or slow cooker (6-8 quart capacity)
- Sharp knife for trimming fat
- Cutting board (preferably wooden)
- Fine-mesh strainer or cheesecloth
- Heat-safe storage containers (glass mason jars work well)
- Thermometer (capable of reading up to 250°F)
Optional but Helpful Tools
| Tool | Purpose |
|---|---|
| Food processor | Grinding fat into smaller pieces |
| Crock pot liner | Easier cleanup |
| Funnel | Clean transfer to storage containers |
Pro Tip: Invest in a dedicated set of tools for tallow rendering to avoid any cross-contamination with your regular cooking equipment. I keep mine in a separate box labeled “Tallow Tools” in my pantry.
Sourcing High-Quality Beef Fat
The quality of your tallow-based lotion starts with the fat you source. After trying various suppliers, I’ve learned that building a relationship with local butchers yields the best results.
Where to Find Quality Fat
- Local grass-fed beef farms
- Butcher shops specializing in whole animal butchery
- Farmers markets with meat vendors
- Local food co-ops
Quality Indicators
| Characteristic | What to Look For |
|---|---|
| Color | Creamy white to slightly yellow |
| Texture | Firm and dry to touch |
| Smell | Neutral, no strong odors |
Pro Tip: Ask your butcher specifically for “kidney suet” – it’s the highest quality fat for rendering and produces the cleanest-smelling tallow.
Preparing Your Fat for Rendering
Proper preparation is crucial for achieving high-quality tallow. I once skipped this step and ended up with tallow that had unwanted meat particles – learn from my mistake!
Cleaning and Trimming
- Remove any visible meat or blood vessels
- Cut away any discolored portions
- Rinse the fat under cold water
- Pat completely dry with paper towels
Size Reduction Methods
- Cut into 1-inch cubes for even rendering
- Grind in food processor for faster rendering
- Freeze partially for easier cutting
Pro Tip: Chilling the fat for 30 minutes before cutting makes it firmer and easier to handle, resulting in more uniform pieces.
The Rendering Process
This is where the magic happens – transforming raw fat into pure, clean tallow requires patience and attention to detail.
Dry Rendering Method
- Place prepared fat in your cooking vessel
- Set heat to low (170-180°F)
- Stir occasionally to prevent sticking
- Monitor for 4-6 hours until fat turns transparent
Temperature Control
| Stage | Temperature |
|---|---|
| Starting | 170°F |
| Active rendering | 180-190°F |
| Maximum allowed | 200°F |
Pro Tip: If you notice a strong smell developing, your temperature is too high. Immediately reduce heat to prevent scorching.
Straining and Storage Solutions
Proper straining and storage ensure your tallow remains pure and usable for months to come.
Straining Methods
- Double-layer cheesecloth method
- Fine-mesh strainer technique
- Coffee filter for ultra-clear tallow
Storage Options
| Container Type | Storage Duration |
|---|---|
| Glass mason jars | 12-18 months |
| Stainless steel | 6-12 months |
| Ceramic containers | 8-12 months |
Pro Tip: Store smaller portions in several containers rather than one large container to minimize exposure to air and extend shelf life.
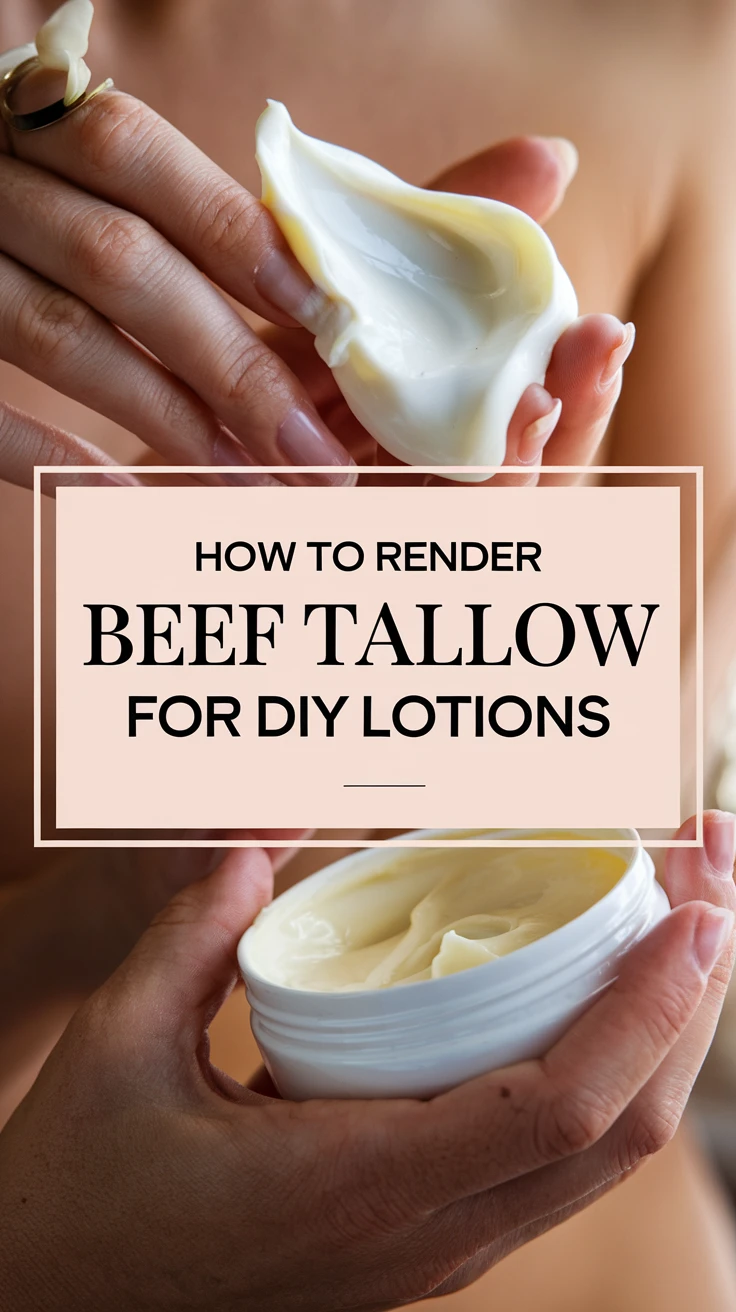
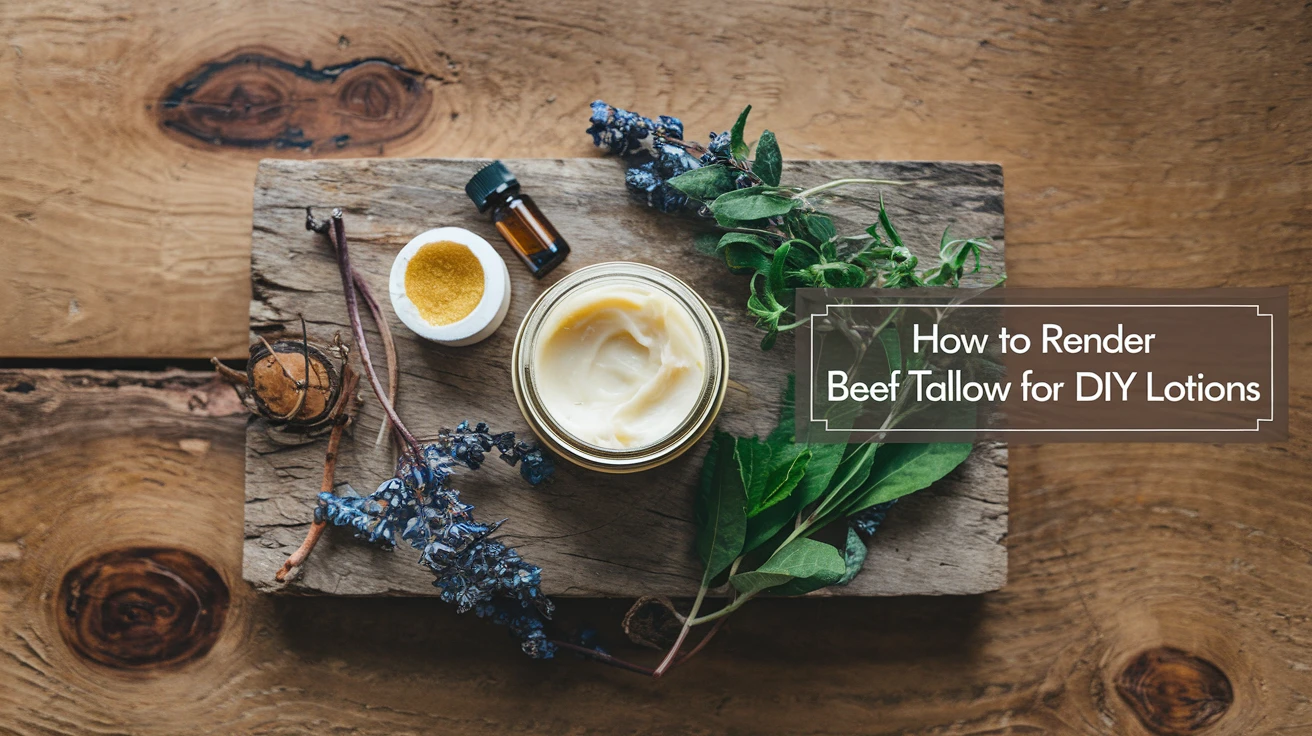
Creating Tallow-Based Lotions
Now that you have beautiful, clean tallow, it’s time to transform it into nourishing lotion.
Basic Lotion Formula
- 75% rendered tallow
- 20% liquid oil (jojoba, olive, or almond)
- 5% essential oils for fragrance
Mixing Process
- Melt tallow using double boiler method
- Add liquid oils while still warm
- Add essential oils last
- Whip until creamy consistency achieved
Pro Tip: Adding a few drops of vitamin E oil will extend the shelf life of your lotion and provide additional skin benefits.
Safety and Best Practices
Safety should always be your top priority when rendering tallow and creating skincare products.
Safety Guidelines
- Never leave rendering tallow unattended
- Keep a fire extinguisher nearby
- Use heat-safe containers and tools
- Practice proper sanitation
Quality Control Measures
| Check Point | Action Required |
|---|---|
| Color | Should be cream to white when solid |
| Smell | Should be neutral or slightly nutty |
| Texture | Smooth, no grainy particles |
Pro Tip: Always perform a patch test with your tallow lotion on a small area of skin before full application.
Conclusion
Rendering your own tallow for lotions is a rewarding process that connects us to traditional skincare methods while providing superior results. With proper technique and patience, you’ll create pure, natural products that nourish your skin deeply. Remember that each batch might be slightly different, but with practice, you’ll develop an intuition for the process. Start with small batches, keep detailed notes, and don’t be afraid to experiment with different essential oil combinations for your perfect lotion formula.
Key Takeaways
- Quality fat sourcing is crucial for superior tallow
- Temperature control is essential during rendering
- Proper straining ensures clean, pure tallow
- Storage methods affect shelf life significantly
- Safety and cleanliness are paramount throughout the process
Frequently Asked Questions
How long does rendered tallow last?
Properly rendered and stored tallow can last 12-18 months when kept in an airtight container in a cool, dark place.
Can I use any type of beef fat for rendering?
While any beef fat can be rendered, kidney suet produces the highest quality tallow with the best texture and least odor.
Why is my tallow yellowish?
A slight yellow tint is normal, especially with grass-fed beef fat. However, excessive yellowing might indicate overheating during the rendering process.
Can I render tallow in an Instant Pot?
Yes, you can use an Instant Pot on the slow cook setting, but avoid pressure cooking as it can affect the quality of the tallow.
How do I know when the rendering process is complete?
The fat should be completely transparent, and the cracklings (solid pieces) should be golden brown and floating at the top.
What’s the best container for storing tallow?
Glass mason jars with tight-fitting lids are ideal as they’re non-reactive and can be properly sealed.
Can I add essential oils directly to rendered tallow?
It’s best to add essential oils when making your lotion, not to the pure rendered tallow, to maintain the tallow’s shelf life.
What’s the typical yield from rendering beef fat?
Generally, you can expect about 70-80% yield from raw fat to rendered tallow.
Can I reuse the cracklings?
Yes, cracklings can be salted and used as a savory snack or cooking ingredient, though this is optional.
How can I remove any unwanted smell from my tallow?
Adding a small amount of baking soda during rendering can help neutralize odors, or you can do a second rendering at a lower temperature.
