
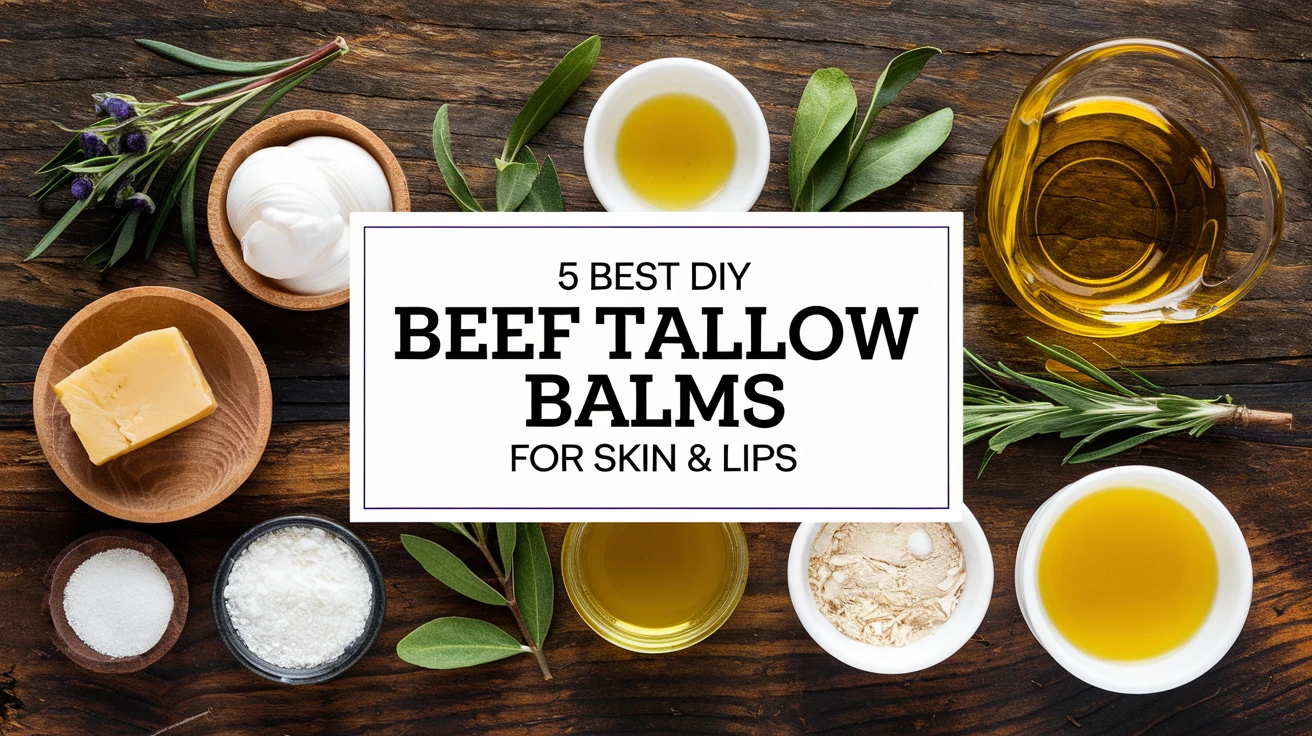
Introduction to Beef Tallow Balms
The beauty world is rediscovering an ancient skincare secret: beef tallow balm. This traditional ingredient, once a staple in our ancestors’ beauty routines, is making a remarkable comeback thanks to its rich nutrient profile and skin-nourishing properties. As someone who’s been crafting natural skincare products for over a decade, I’ve discovered that beef tallow balm is unmatched in its ability to nurture and protect our skin.
Before we dive into our DIY recipes, let’s understand why beef tallow balm deserves a place in your skincare routine:
- Similar composition to human skin cells
- Rich in vitamins A, D, E, and K
- Contains conjugated linoleic acid (CLA)
- Deeply moisturizing without being greasy
- Naturally antimicrobial properties
Essential Equipment for Making Beef Tallow Balm
- Double boiler or heat-safe glass bowl
- Kitchen scale
- Glass storage containers
- Thermometer
- Stirring utensils
- Fine mesh strainer
- Labels for your containers
1. Basic Nourishing Beef Tallow Balm
Let’s start with the foundation – a simple yet effective beef tallow balm that’s perfect for beginners. This basic recipe provides intense moisture while allowing the natural benefits of tallow to shine through.
| Ingredient | Amount | Purpose |
|---|---|---|
| Grass-fed beef tallow | 1 cup | Base ingredient |
| Olive oil | 2 tablespoons | Softening agent |
| Essential oil (optional) | 10 drops | Natural fragrance |
- Gently melt tallow using double boiler method
- Add olive oil when tallow is fully melted
- Remove from heat and let cool slightly
- Add essential oils if desired
- Pour into containers and let set
Pro tip: For the purest results, source your tallow from local grass-fed cattle farmers. The quality of your tallow directly impacts the effectiveness of your balm.
2. Healing Herbal-Infused Tallow Balm
This enhanced version of beef tallow balm incorporates healing herbs for additional therapeutic benefits. I developed this recipe after experiencing the remarkable healing properties of calendula and chamomile in combination with tallow.
- Calendula flowers for skin repair
- Chamomile for inflammation reduction
- Plantain leaves for healing
- Comfrey for cell regeneration
| Ingredient | Amount | Purpose |
|---|---|---|
| Beef tallow | 1 cup | Base ingredient |
| Herb-infused olive oil | ¼ cup | Therapeutic benefits |
| Lavender essential oil | 15 drops | Calming properties |
Pro tip: Infuse your herbs in olive oil for at least 4 weeks before incorporating them into your beef tallow balm for maximum potency.
3. Vitamin E-Enhanced Tallow Lip Balm
This specialized beef tallow balm formula is perfect for creating a nourishing lip treatment. The addition of vitamin E extends shelf life while providing extra protection for delicate lip tissue.
- Extra protection for delicate lip tissue
- Long-lasting moisture retention
- Natural sun protection properties
- Healing benefits for chapped lips
| Ingredient | Amount | Purpose |
|---|---|---|
| Beef tallow | ½ cup | Base ingredient |
| Beeswax | 2 tablespoons | Firmness |
| Vitamin E oil | 1 teaspoon | Preservation |
Pro tip: Pour this lip balm into small tins or tubes while still liquid for easier application.
4. Lavender-Chamomile Tallow Night Balm
This soothing beef tallow balm formula is specifically designed for nighttime use, promoting skin repair while you sleep. The combination of lavender and chamomile creates a calming aromatherapy experience.
- Deep overnight moisture
- Calming aromatherapy benefits
- Anti-inflammatory properties
- Cellular regeneration support
| Ingredient | Amount | Purpose |
|---|---|---|
| Beef tallow | 1 cup | Base ingredient |
| Chamomile-infused oil | 3 tablespoons | Calming properties |
| Lavender essential oil | 20 drops | Relaxation |
Pro tip: Apply this balm to slightly damp skin for enhanced absorption and maximum benefits.
5. Antioxidant-Rich Rosehip Tallow Face Balm
This advanced beef tallow balm formula combines the nourishing properties of tallow with the anti-aging benefits of rosehip oil. It’s perfect for mature skin or anyone looking to prevent premature aging.
- Anti-aging properties
- Vitamin C enrichment
- Collagen production support
- Fine line reduction
| Ingredient | Amount | Purpose |
|---|---|---|
| Beef tallow | ¾ cup | Base ingredient |
| Rosehip oil | 2 tablespoons | Anti-aging |
| Frankincense essential oil | 15 drops | Skin rejuvenation |
Pro tip: Store this balm in a dark glass container to protect the delicate rosehip oil from light degradation.
Storage and Shelf Life
Proper storage of your beef tallow balm is crucial for maintaining its effectiveness and preventing spoilage. Here are essential storage guidelines:
- Store in airtight, dark glass containers
- Keep away from direct sunlight
- Store in a cool, dry place
- Use clean hands or a spatula when applying
- Label containers with production date
Frequently Asked Questions
What’s the shelf life of homemade beef tallow balm?
When properly stored, beef tallow balm typically lasts 6-12 months. Adding vitamin E can extend shelf life up to 18 months.
Can I use store-bought tallow for these recipes?
Yes, but grass-fed, organic tallow will provide the best results and highest nutrient content.
How do I properly store beef tallow balm?
Store in airtight, dark glass containers in a cool, dry place away from direct sunlight.
Why is beef tallow good for skin?
Beef tallow contains similar fatty acids to human skin and is rich in vitamins A, D, E, and K, making it highly compatible with our skin’s biology.
Can I use these balms on sensitive skin?
Yes, pure beef tallow balm is generally suitable for sensitive skin, but always perform a patch test first.
Conclusion
Creating your own beef tallow balm allows you to harness the power of this traditional ingredient while customizing it to your specific skincare needs. Whether you’re looking for basic moisture, healing properties, or anti-aging benefits, these five DIY recipes provide a solid foundation for your natural skincare journey. Remember that the quality of your ingredients, particularly your tallow, will significantly impact the effectiveness of your final product. Start with the basic recipe and gradually experiment with different combinations as you become more comfortable with the process.
