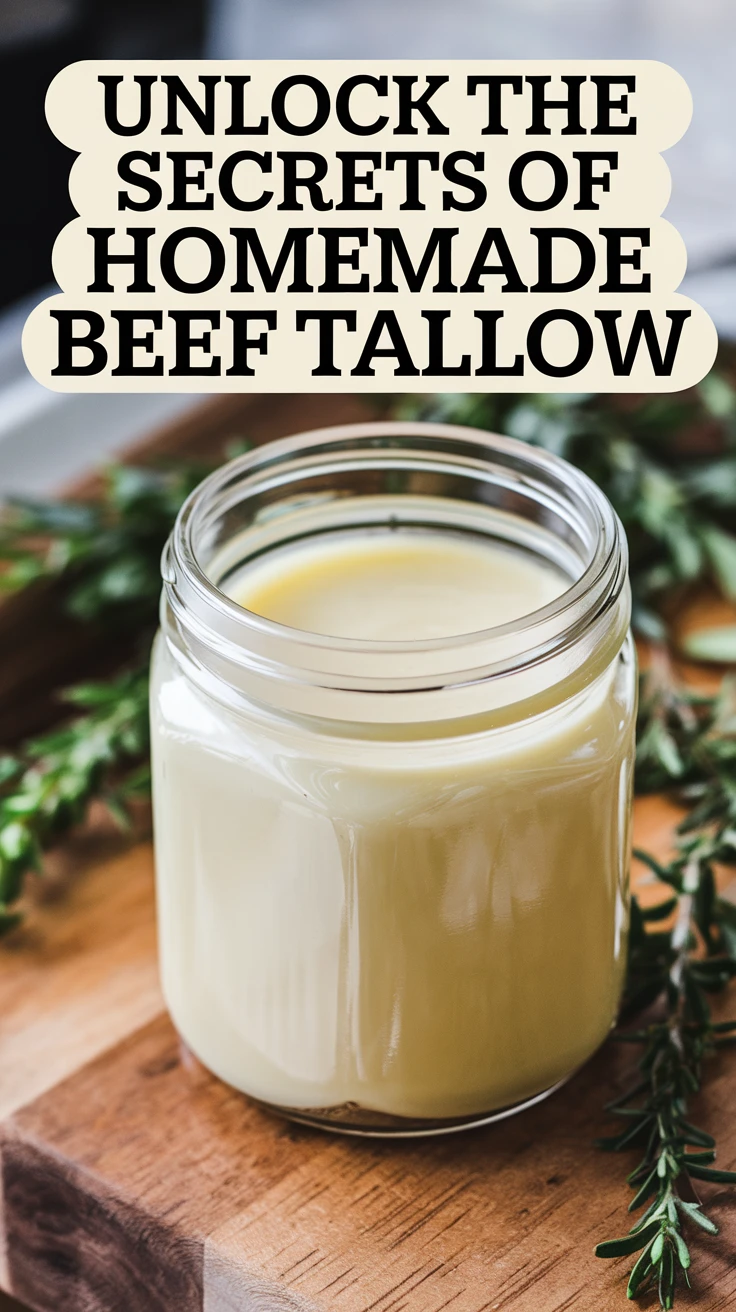
Introduction to DIY Beef Tallow
Making your own DIY beef tallow is a rewarding journey into traditional food preservation and cooking. As someone who’s been crafting homemade tallow for years, I can tell you that while the process might seem intimidating at first, it’s actually quite straightforward. This guide will walk you through everything you need to know about creating this versatile cooking fat in your own kitchen.
Beef tallow, simply put, is rendered beef fat that’s been purified into a shelf-stable cooking medium. Before the rise of vegetable oils, tallow was a kitchen staple, prized for its high smoke point and rich flavor. Today, there’s a growing movement back to these traditional fats, and DIY beef tallow is leading the charge.
Benefits and Uses of Homemade Beef Tallow
Before we dive into the production process, let’s understand why making your own beef tallow is worth the effort:
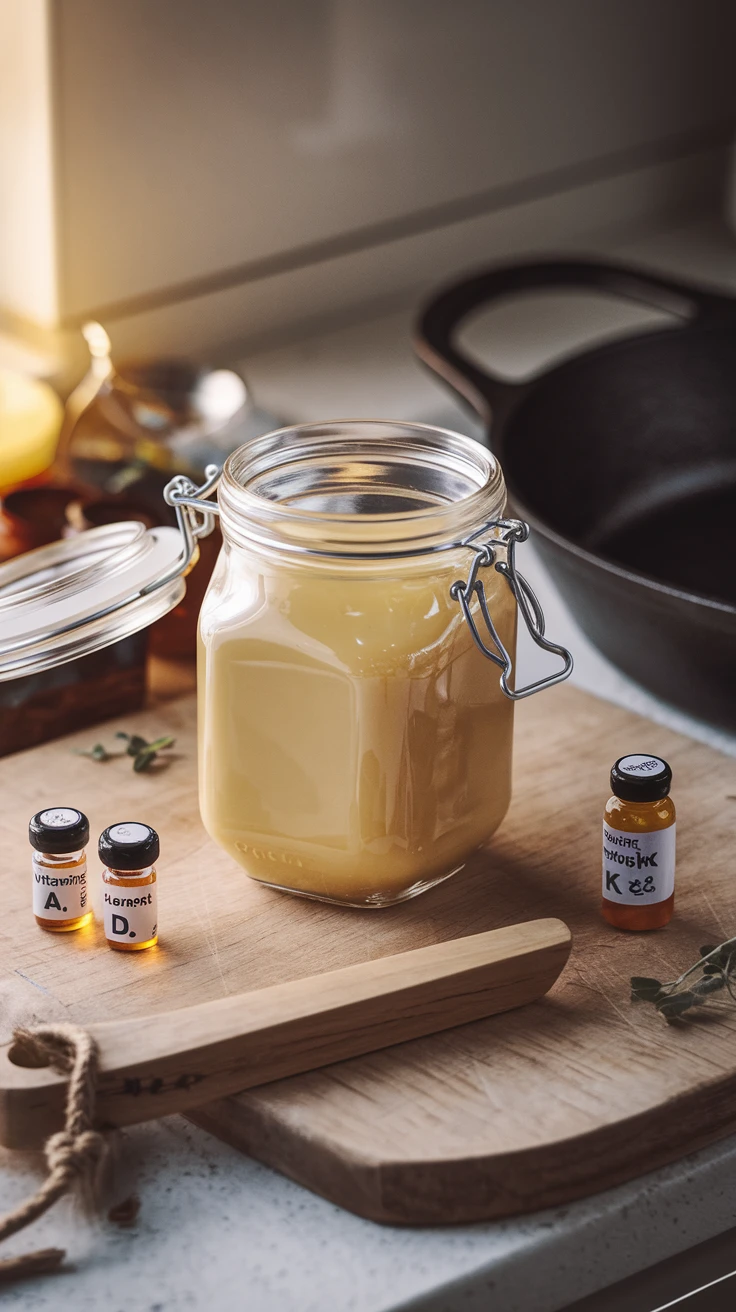
- Superior cooking properties with a high smoke point (400°F)
- Rich in fat-soluble vitamins (A, D, E, K)
- More economical than store-bought versions
- Complete control over the quality and sourcing
- Extended shelf life for food storage
- Versatile applications beyond cooking

View on AmazonAs an Amazon Associate, I earn from qualifying purchases.

View on AmazonAs an Amazon Associate, I earn from qualifying purchases.
Pro tip: Save money by building a relationship with your local butcher who can reserve quality beef fat for your DIY beef tallow projects.
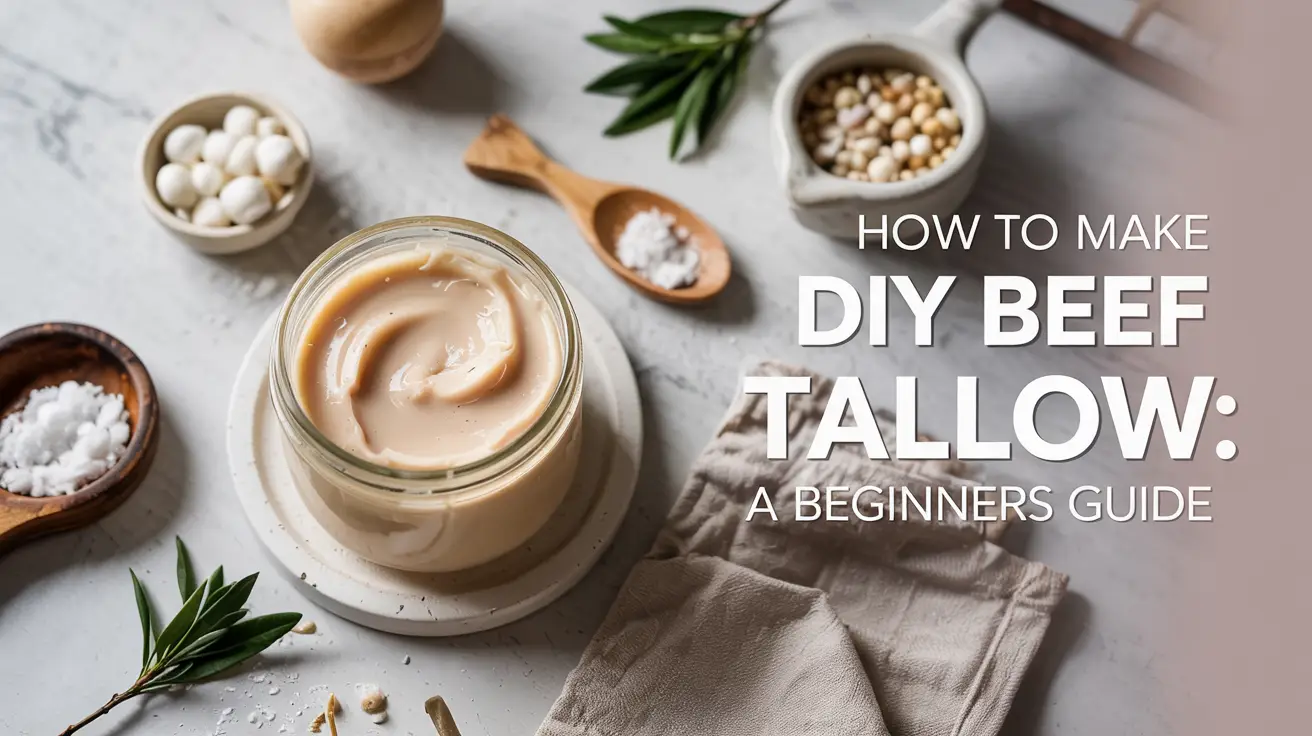
Required Materials and Equipment
Success in making DIY beef tallow starts with having the right tools and materials. Here’s everything you’ll need:
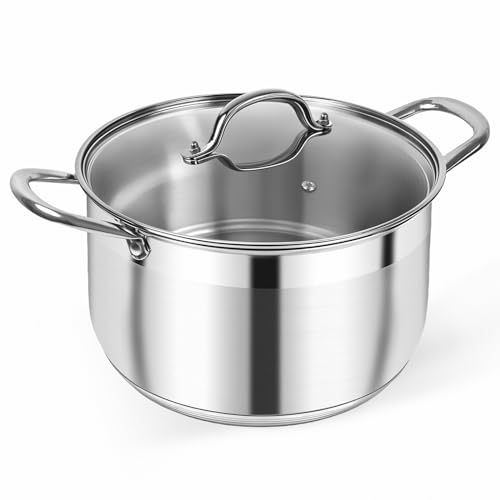
| Essential Equipment | Optional but Helpful |
|---|---|
| Large heavy-bottom pot | Slow cooker |
| Fine mesh strainer | Candy thermometer |
| Cheesecloth | Food processor |
| Storage containers | Canning jars |
View on AmazonAs an Amazon Associate, I earn from qualifying purchases.

View on AmazonAs an Amazon Associate, I earn from qualifying purchases.
Pro tip: Invest in high-quality storage containers that are heat-resistant and airtight to maximize your tallow’s shelf life.
Sourcing Raw Materials
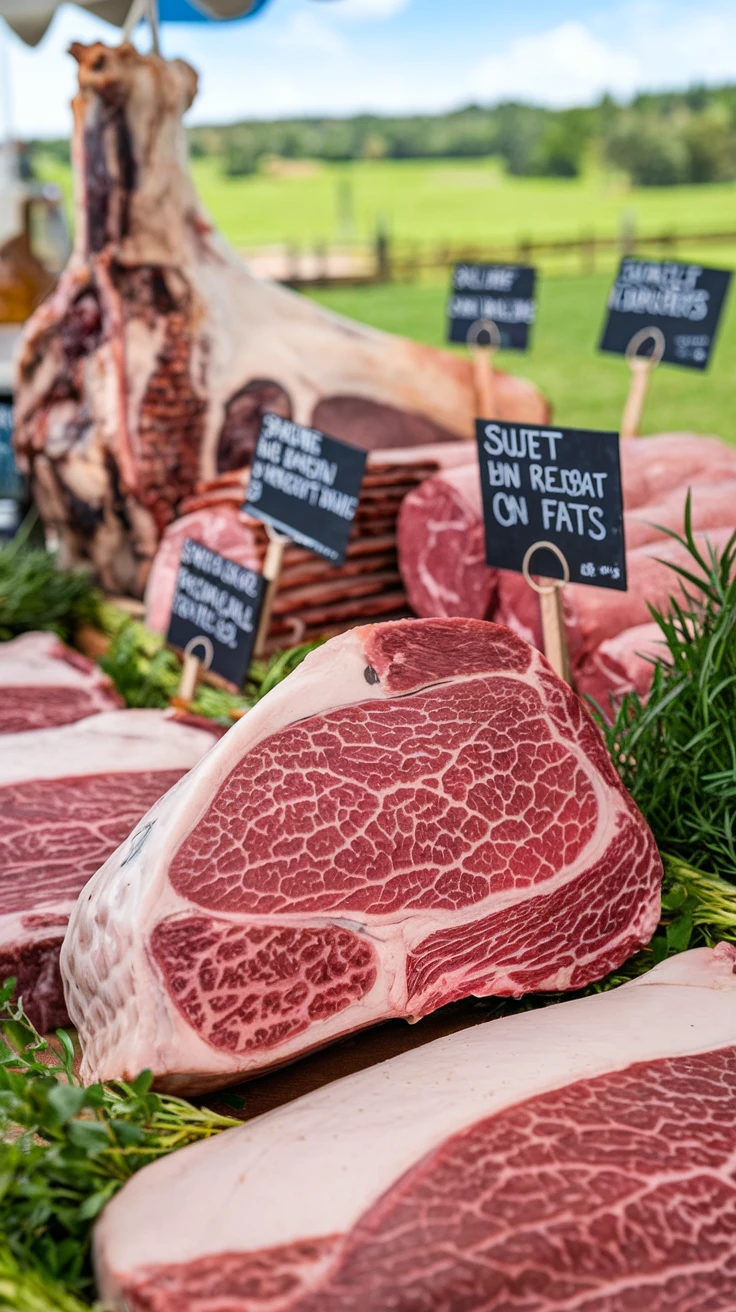
The quality of your DIY beef tallow depends heavily on your starting materials. Here’s how to source the best beef fat:
- Look for “suet” specifically – the hard fat around the kidneys and loins
- Choose grass-fed beef fat when possible
- Build relationships with local butchers
- Consider farmers’ markets and local farms
- Avoid fat with meat still attached

View on AmazonAs an Amazon Associate, I earn from qualifying purchases.

View on AmazonAs an Amazon Associate, I earn from qualifying purchases.
Pro tip: When asking your butcher for fat, specify that you’re making tallow – they might give you better quality cuts and useful advice.
Step-by-Step Production Process

Let’s break down the DIY beef tallow-making process into manageable steps:
- Prepare the Fat:
- Clean the fat of any meat or blood
- Cut into small, uniform pieces
- Chill for easier cutting if necessary
- Rendering Process:
- Place fat pieces in your pot
- Heat on low (200-250°F)
- Stir occasionally
- Watch for clear liquid formation
- Straining and Cooling:
- Strain through cheesecloth
- Pour into storage containers
- Allow to cool completely

View on AmazonAs an Amazon Associate, I earn from qualifying purchases.

View on AmazonAs an Amazon Associate, I earn from qualifying purchases.
Pro tip: Keep the temperature low and steady – patience is key for creating clean, white tallow.
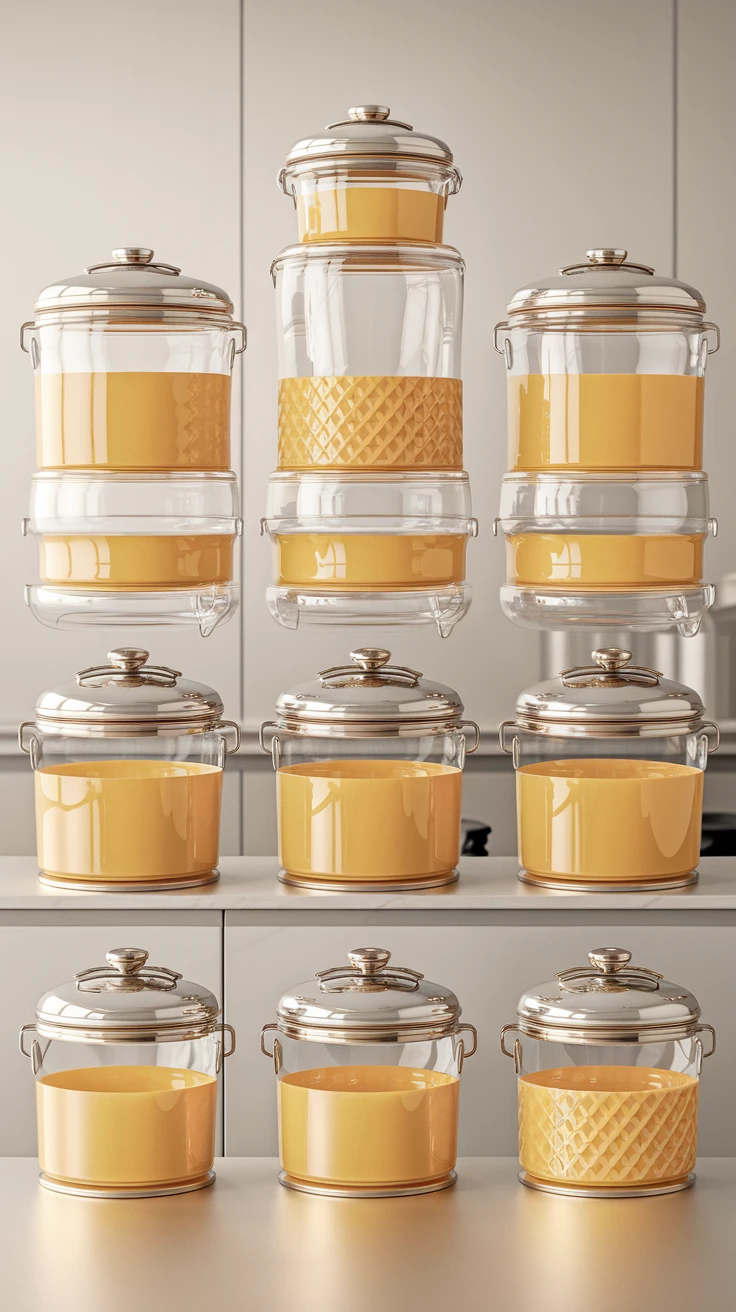
Storage and Preservation
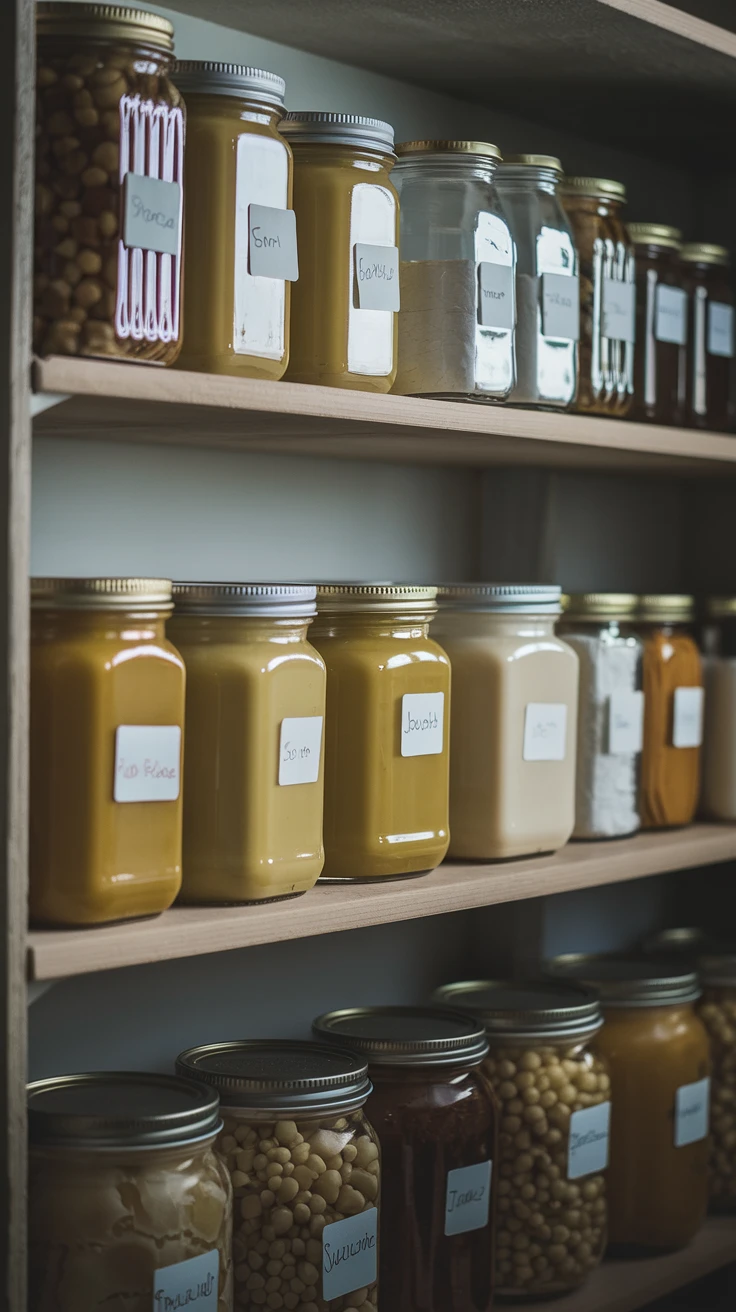
Proper storage is crucial for maintaining your DIY beef tallow’s quality:
- Store in airtight containers
- Keep in a cool, dark place
- Refrigerate for extended storage
- Can be frozen for up to one year
- Monitor for any signs of rancidity
Pro tip: Label your containers with the production date and source of fat for better tracking.
Troubleshooting Common Issues
Even experienced tallow makers encounter challenges. Here are solutions to common problems:
| Issue | Solution |
|---|---|
| Dark color | Lower rendering temperature |
| Strong smell | Improve ventilation, check fat quality |
| Grainy texture | Adjust cooling temperature |

View on AmazonAs an Amazon Associate, I earn from qualifying purchases.

View on AmazonAs an Amazon Associate, I earn from qualifying purchases.
Pro tip: Keep a rendering journal to track what works and what doesn’t in your DIY beef tallow production.
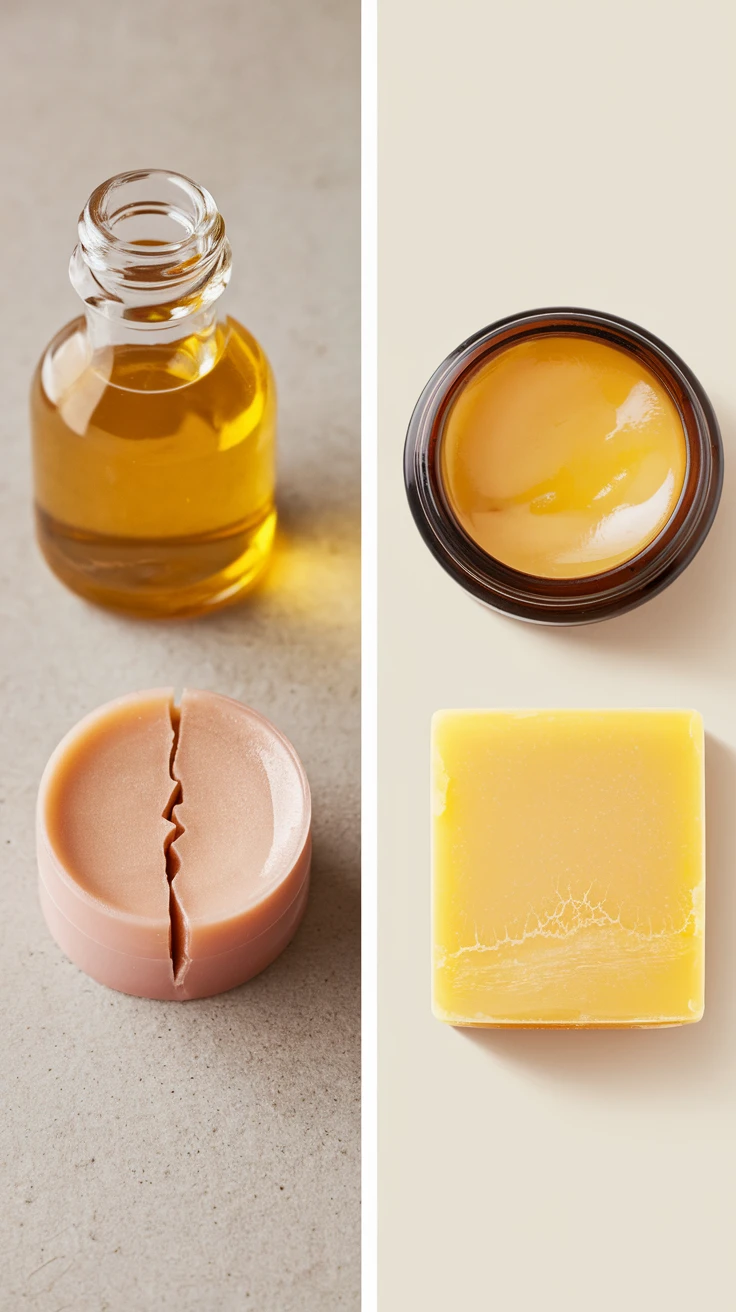
Recipes and Applications
Your homemade tallow is incredibly versatile. Here are some ways to use it:
- Deep frying at high temperatures
- Sautéing vegetables
- Making traditional pastries
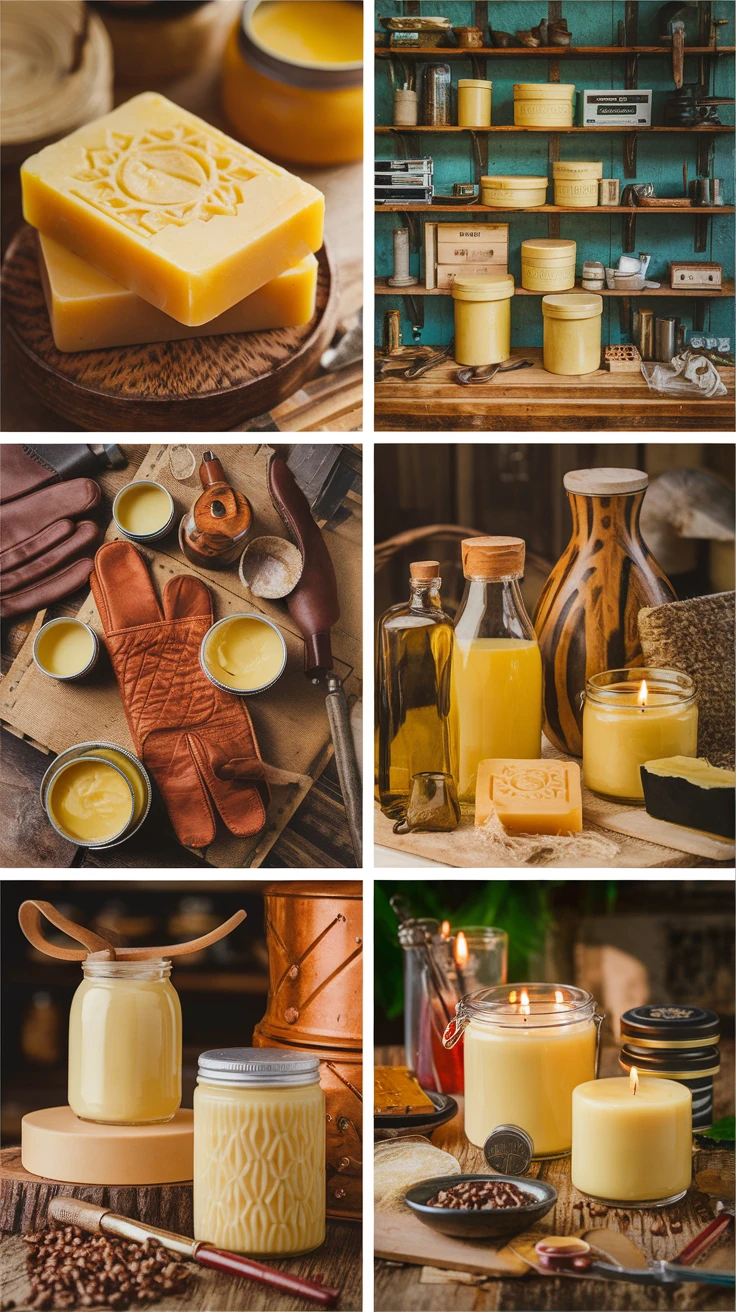
- Creating artisanal soaps
- Waterproofing leather
- Making emergency candles

View on AmazonAs an Amazon Associate, I earn from qualifying purchases.

View on AmazonAs an Amazon Associate, I earn from qualifying purchases.
Pro tip: Start with simple applications like frying potatoes to get comfortable with your DIY beef tallow’s properties.
Conclusion
Making DIY beef tallow is a valuable skill that connects us to traditional food preparation methods while providing a superior cooking fat. With this guide, you’re well-equipped to start your tallow-making journey. Remember, like any new skill, it takes practice to perfect, but the results are worth the effort.
Frequently Asked Questions
How long does DIY beef tallow last?
When properly stored in an airtight container, DIY beef tallow can last up to 6 months at room temperature, 1 year in the refrigerator, and even longer in the freezer.
Can I use any type of beef fat?
While you can use any beef fat, kidney fat (suet) produces the highest quality tallow with the best texture and stability.
What’s the difference between tallow and lard?
Tallow is rendered beef fat, while lard is rendered pork fat. They have different melting points and slightly different cooking properties.
Is DIY beef tallow cost-effective?
Yes, especially when sourcing fat from local butchers who might otherwise discard it. The initial time investment pays off in the quality and quantity produced.
How do I know if my tallow has gone bad?
Rancid tallow will have an off-putting smell, unusual color changes, or a bitter taste. When in doubt, discard it.
